
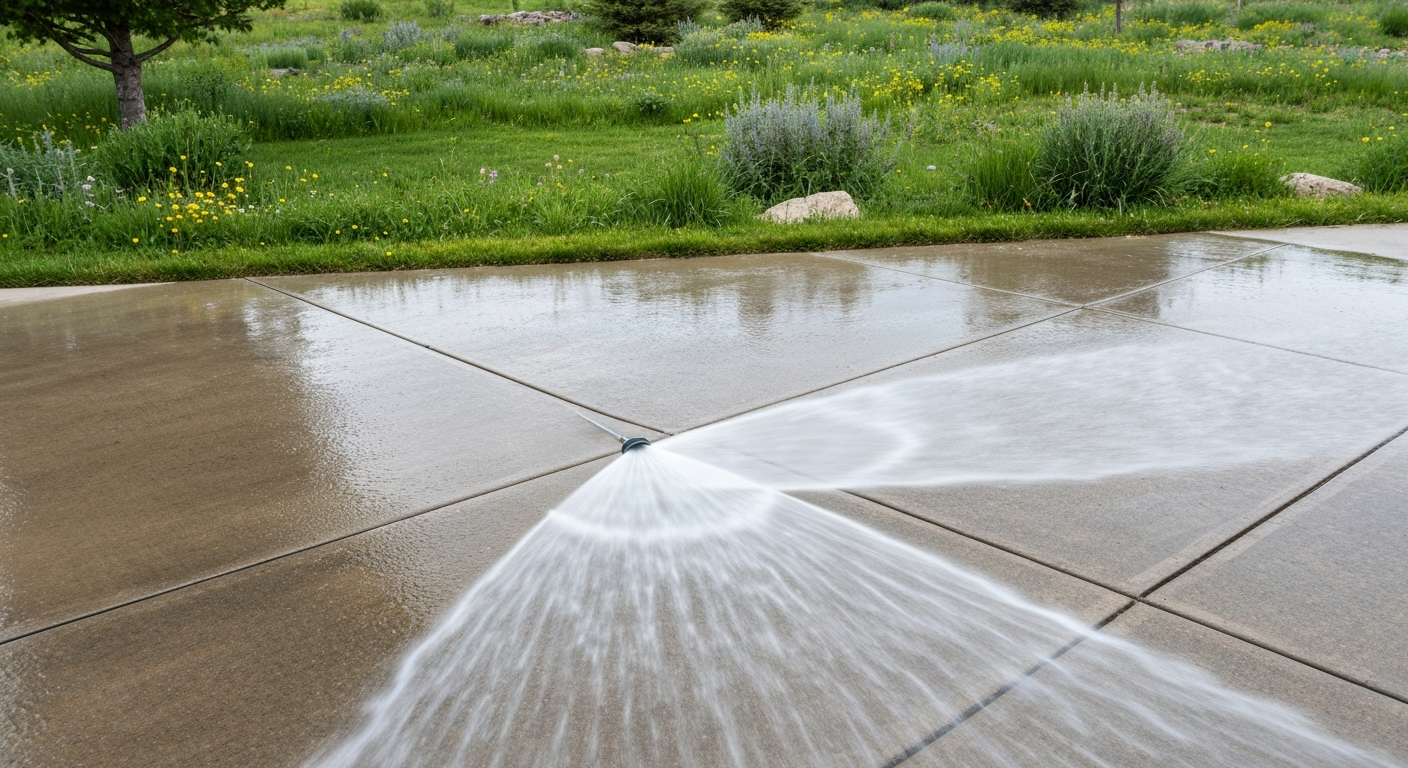
A thorough spring concrete cleanup in Montana should remove road salt, sand, mud, oil residue, and organic growth before the surface is inspected for winter damage. Once the concrete or pavers are clean and fully dry, resealing can reduce water absorption and help protect the surface through the next freeze-thaw season.
In the Flathead Valley, the best window usually begins after overnight freezing becomes less frequent and surfaces can dry completely. Cleaning too early can leave water to refreeze in cracks and joints, while sealing damp or cold material can lead to uneven appearance or poor performance.
Quick Answer: What Should Spring Cleanup Include?
A practical spring sequence is:
- Remove loose sand, gravel, leaves, and winter debris.
- Wash away road salt, brine, mud, oil film, algae, and moss.
- Let the surface dry, then inspect for spalling, pitting, and new cracks.
- Restore paver joints where needed.
- Reseal sound concrete or pavers with a compatible product during dry, suitable weather.
Pressure washing can help, but the correct nozzle, distance, and pressure matter. Excessive force can etch concrete, expose aggregate, damage weak surfaces, and remove joint sand from pavers.
Why Montana Surfaces Need a Spring Reset
Driveways, patios, walkways, garage approaches, and paver areas around Kalispell and the Flathead Valley spend much of winter under snow, grit, and vehicle residue.
During that time, several things happen at once:
- Road salt and de-icing brine are tracked onto private surfaces.
- Snowmelt carries fine sand and contaminants into pores and joints.
- Water freezes and thaws around cracks, low spots, and slab edges.
- Plowed or shoveled snow piles keep areas wet for long periods.
- Shaded surfaces remain damp and develop green or black biological growth.
- Oil and road film accumulate beneath parked vehicles.
Spring cleaning is not only cosmetic. It removes abrasive and moisture-holding material, exposes damage that was hidden by grime, and prepares the surface for maintenance before the next winter.
A Step-by-Step Spring Concrete Cleanup
1. Wait for a Reliable Cleaning Window
Do not begin simply because the snow has melted from one sunny area.
A useful cleaning window requires:
- No ice remaining in cracks or paver joints
- Daytime temperatures suitable for cleaning products
- Overnight conditions that reduce the risk of immediate refreezing
- Enough dry weather for thorough rinsing
- Adequate drainage away from buildings and neighboring property
- Additional drying time before any sealer is applied
North-facing and shaded areas may remain cold and damp after sunny sections appear ready. Treat each surface according to its actual condition rather than the calendar alone.
2. Remove Loose Winter Debris First
Sweep or blow away loose material before introducing water.
Common spring debris includes:
- Road sand
- Small gravel
- De-icer granules
- Pine needles and leaves
- Mud
- Flaked surface material
- Loose paver-joint sand
- Debris collected along garage doors and slab edges
Dry removal reduces the amount of gritty runoff created during washing. It also makes stains, cracks, loose joints, and damaged edges easier to locate.
Pay particular attention to low spots and transitions between a driveway and the public road. These areas often collect the highest concentration of road residue.
3. Rinse Away Road Salt and De-Icing Brine
Salt residue should not be left on concrete or pavers through spring and summer.
Road salt and brine can keep the surface damp, increase moisture movement into porous material, and contribute to repeated freeze-thaw stress. Chloride residue can also remain in cracks, joints, and low areas long after the visible snow is gone.
A pale or white haze may be salt residue, mineral deposits, efflorescence, or a combination of materials. Cleaning should begin with the least aggressive effective method.
A Practical Salt-Removal Process
- Sweep away dry salt, sand, and grit.
- Pre-wet nearby vegetation where appropriate.
- Rinse the surface with clean water.
- Apply a compatible cleaner if residue remains.
- Agitate stubborn areas with a suitable brush.
- Rinse thoroughly rather than allowing dirty solution to dry in place.
- Direct runoff away from storm drains, landscaping, and neighboring areas where required.
- Allow the surface to dry before checking whether haze remains.
One quick pass may not remove months of accumulated residue. Garage entrances, tire paths, driveway aprons, and areas below downspouts often need additional attention.
Do Not Confuse Efflorescence With Surface Dirt
Efflorescence is a mineral deposit left when moisture moves through masonry and evaporates. It often appears white or gray.
Light deposits may respond to appropriate cleaning, but repeated efflorescence can indicate ongoing moisture movement. Aggressive chemical treatment should not be used without confirming that the product is appropriate for the surface, sealer, landscaping, and drainage conditions.
4. Remove Mud, Oil, and Road Film
Winter grime is often a mixture rather than a single stain.
A driveway may contain:
- Tire residue
- Automotive fluids
- Fine road dust
- De-icing chemicals
- Clay or mud
- Organic matter
- Soot-like road film
Plain water may remove loose dirt but leave an oily film behind. A compatible degreaser may be needed for vehicle areas.
Treat Oil Before General Washing
Oil and grease should be treated before washing the entire surface. Otherwise, pressure and runoff may spread contamination into a larger area.
A typical process includes:
- Absorb any fresh liquid.
- Apply a cleaner intended for concrete or pavers.
- Allow the recommended dwell time without letting it dry.
- Agitate the stain.
- Rinse and recover runoff where appropriate.
- Repeat if active residue remains.
Old oil stains may not disappear completely. The goal before resealing is to remove active contamination that could interfere with penetration or adhesion.
Oil-soaked concrete may remain visibly discolored even after responsible cleaning.
5. Treat Algae, Moss, Mildew, and Shaded-Surface Film
North-facing walkways, shaded patios, retaining edges, and paver joints often develop a green, brown, or black film after a long wet season.
This growth is more than an appearance issue. It can make walking surfaces slippery and hold moisture against the material.
Why Organic Growth Returns
Algae and moss are encouraged by:
- Shade
- Poor airflow
- Irrigation overspray
- Roof or downspout runoff
- Standing water
- Low areas
- Dense vegetation
- Soil and organic debris in paver joints
Cleaning removes the growth that is present. It does not correct the environmental condition that allowed it to develop.
Use the Right Cleaning Approach
A compatible treatment should be allowed enough dwell time to loosen biological material. Scrubbing may be needed in joints, textured areas, and shaded corners.
Pressure alone can remove visible growth while leaving embedded material behind. Excessive pressure can also scar concrete or scatter paver bedding and joint material.
After cleaning, review the surrounding drainage and vegetation. Redirecting irrigation or trimming dense growth may help the surface dry faster.
6. Pressure Wash Without Damaging the Surface
Pressure washing is effective only when the machine, tip, distance, and technique match the material.
Risks of Excessive Pressure
Too much force can:
- Etch lines into concrete
- Remove sound-looking but weak surface paste
- Expose coarse aggregate
- Widen existing pits
- Damage decorative finishes
- Strip old sealer unevenly
- Remove polymeric or loose joint sand
- Undermine paver edges
- Force water into cracks and joints
Newer-looking concrete is not automatically safe to wash aggressively. Finishing history, curing, air content, existing deterioration, and previous treatments all affect surface strength.
Better Pressure-Washing Technique
Use a consistent distance and overlapping passes. Avoid holding a narrow stream in one place or writing visible lines into the slab.
Begin with a less aggressive setting and test an inconspicuous area. Increase cleaning force only when necessary.
A surface cleaner can provide more uniform results on broad, flat concrete, but edges, steps, joints, and damaged areas still require controlled technique.
For pavers, the spray angle should minimize joint-sand loss. If sand is removed, the joints may need to be restored after the surface dries.
7. Clean First, Then Inspect for Winter Damage
A dirty surface can hide the difference between staining and material failure. Inspection is more accurate after residue, algae, and loose debris are removed.
Allow the area to dry before judging color, cracks, and surface texture.
Look for Spalling and Scaling
Spalling or scaling appears as flaking, peeling, or loss of the surface paste. The damaged area may feel rough, expose aggregate, or release thin pieces during cleaning.
Note:
- How deep the loss appears
- Whether it is isolated or widespread
- Whether the material beneath it feels solid
- Whether the damage is concentrated near joints or edges
- Whether salty snowmelt regularly sits in the area
A penetrating sealer can reduce future water absorption, but it cannot reattach material that has already separated.
Look for Pitting and Popouts
Pits are small depressions in the surface. Popouts are localized pieces that have broken free, often around an aggregate particle.
A few stable defects may be primarily cosmetic. Increasing numbers, deep deterioration, or surrounding loose material can indicate a broader durability problem.
Mark New or Widening Cracks
Compare cracks with previous seasons when possible.
Record:
- Approximate width
- Length
- Location
- Vertical displacement
- Moisture staining
- Movement at joints
- Nearby settlement or drainage problems
Small cracks do not all require the same treatment. A stable surface crack differs from a crack with vertical movement or repeated widening.
Streamline Solutions works on the care and restoration of existing surfaces. Cracks that suggest settlement, structural movement, or broad slab failure may require evaluation beyond cleaning and sealing.
Poured Concrete and Paver Care Are Not the Same
Pavers move independently and rely on bedding, edge restraint, and joint material. They should not be treated exactly like a continuous concrete slab.
| Maintenance issue | Poured concrete | Concrete pavers |
|---|---|---|
| Cleaning | Can often be cleaned in broad, even passes | Requires care around joints and loose units |
| Cracks | May form within the slab or at joints | Usually appears as joint movement, settlement, or cracked individual units |
| Joint material | Control and expansion joints may use specific sealants | Sand-filled joints are part of the surface system |
| Pressure risk | Aggressive washing can etch paste | Aggressive washing can remove joint sand and disturb bedding |
| Resealing | Often uses a penetrating or compatible surface sealer | Requires a product intended for the paver material and joint system |
| Drainage problems | May show as ponding or crack-related movement | May show as sunken units, edge movement, or washed-out joints |
Spring Paver Care: Re-Sanding and Sealing
After pavers are cleaned and fully dry, inspect the joints.
When Pavers Need New Joint Sand
Re-sanding may be needed when:
- Joints are visibly low
- Washing removed loose sand
- Weeds repeatedly establish in open joints
- Ants or runoff have displaced material
- Individual pavers rock or shift
- Edge joints have opened
Adding sand does not correct a failed base, severe settlement, or missing edge restraint. Those conditions should be addressed before sealing.
What Polymeric Sand Does
Polymeric sand contains fine aggregate and binding additives that activate when installed and watered according to product instructions. Once cured, it can reduce washout, weed establishment, and insect disturbance.
Installation is sensitive to preparation.
The pavers should be dry before sweeping in the material, and excess sand must be removed from the face before activation. Too much water can wash binder onto the surface or flood the joints. Too little water may leave the full joint depth unactivated.
Weather during installation and curing also matters.
Use a Paver-Appropriate Sealer
Paver sealers may enhance color, reduce water absorption, help stabilize compatible joint material, or change the surface sheen.
The correct product depends on:
- Paver material
- Existing sealer
- Joint-sand type
- Desired appearance
- Drainage
- Moisture level
- Expected traction
A sealer intended for poured concrete should not automatically be assumed suitable for every paver system.
When Should Concrete Be Resealed?
Resealing intervals vary. Traffic, exposure, product type, surface porosity, cleaning methods, and winter conditions all affect how quickly protection wears.
The condition of the surface is more useful than a fixed calendar.
Signs an Existing Sealer May Be Wearing Off
- Water darkens the surface quickly instead of beading
- Previously protected areas absorb water unevenly
- Traffic lanes wet out faster than edges
- The surface appears dry or porous
- Stains become harder to remove
- A decorative finish has lost its expected sheen
- Winter residue penetrates instead of remaining near the surface
A water-drop test can provide a simple comparison between exposed and protected areas, but it is not a complete diagnosis. Some breathable sealers do not create dramatic beading, and existing contamination can affect the result.
Follow the Correct Sequence
The order should be:
- Clean the surface.
- Remove oil, salt, algae, and incompatible residue.
- Inspect for loose material or damage.
- Complete appropriate minor repairs.
- Allow the surface to dry fully.
- Confirm weather and product requirements.
- Apply a compatible sealer.
- Protect the area during curing.
Sealing a damp slab can trap moisture or interfere with performance. Applying new sealer over an incompatible old treatment can create blotching, whitening, adhesion problems, or an uneven finish.
What Spring Resealing Can and Cannot Do
A suitable sealer can:
- Reduce liquid-water absorption
- Limit penetration of salt-laden moisture
- Make routine cleaning easier
- Slow some forms of surface weathering
- Protect compatible decorative finishes
- Help prepare the surface for the next winter
It cannot:
- Rebuild missing concrete
- Stabilize settlement
- Close active structural cracks
- Correct poor drainage
- Reverse deep freeze-thaw deterioration
- Make the surface stain-proof
- Prevent every future defect
Spring resealing is preventive maintenance for sound or properly restored surfaces. It is not a substitute for correcting deeper failure.
Flathead Valley Timing: Why Spring and Early Summer Matter
The Flathead Valley maintenance season can feel short. Snow may leave sunny areas while shaded joints remain wet or frozen, and a warm afternoon may be followed by another cold night.
Spring and early summer are useful because they provide time to:
- Remove months of road residue
- Identify winter damage
- Let slabs and paver joints dry
- Complete joint-sand work
- Apply sealer before heavy summer use
- Correct drainage concerns before the next snow season
Do not rush the work during the first warm spell. The surface temperature, overnight forecast, recent rain, shade, and curing requirements all matter.
A dry stretch after freezing conditions have eased is generally more useful than an isolated warm day.
Spring Concrete and Paver Checklist
Use this checklist once winter conditions have eased:
- Confirm that cracks, joints, and shaded areas are free of ice.
- Sweep away road sand, gravel, leaves, and loose flakes.
- Rinse salt and de-icing residue thoroughly.
- Treat oil and road film with compatible cleaners.
- Remove algae, moss, mildew, and slippery organic growth.
- Pressure wash with controlled force and a suitable tip.
- Let the surface dry before inspecting it.
- Mark spalling, pits, popouts, and new or widening cracks.
- Check drainage, low spots, downspouts, and irrigation.
- Inspect paver joints, edges, and settled units.
- Restore joint sand where the system is otherwise stable.
- Test whether the existing sealer is still performing.
- Reseal only after the surface is clean, dry, and suitable.
- Follow the selected product's curing requirements.
Streamline Solutions' Take
"Spring cleaning should reveal the condition of the surface, not damage it. Start with salt and grit removal, use only as much pressure as the material can safely tolerate, and let everything dry before deciding whether resealing or additional restoration is appropriate. In the Flathead Valley, completing that work during a stable spring or early-summer dry window provides the best preparation for the next winter."
How Streamline Solutions Can Help
Streamline Solutions cleans, protects, and maintains existing concrete and paver surfaces throughout the Flathead Valley. Depending on the surface and its condition, the work may include general pressure washing, controlled concrete pressure washing, compatible concrete sealing or resealing, or paver sealing and joint-sand maintenance. Preparation, scheduling, and maintenance questions are also addressed in the frequently asked questions.
Frequently Asked Questions
Have a Concrete or Paver Project in the Flathead Valley?
Get your surfaces cleaned and protected before the next season hits.
